-
05. media 쿼리와 CSS 속성[Attribute] 선택자로 다크모드 구현하기Projects/세계 여행 지도 2021. 6. 4. 14:52
처음에는 현재 테마에 대한 상태를 redux를 사용해서 상태를 관리하고자 했다. 그런데 redux로 mode를 설정을 하게 된다면, styled-component에 일일히 props로 redux의 상태를 전달해야하고, 코드가 지저분해 지는 것 같았다. 더 좋은 방법이 없을까 하며 검색을 해 보니 일반적으로 다크모드를 구현할 때에는 media 쿼리와 attribute를 사용하는 것 같았다.
@media 쿼리?
반응형 디자인을 할 때 media 쿼리를 많이 써 봤지만 다크모드를 적용할 때에도 사용 되는 줄은 몰랐다. 그래서 미디어 쿼리가 정확하게 어떤 것인지 알아보았다.
MDN의 설명에 따르면
미디어 쿼리는 기기의 유형 또는 특정 매개 변수 (화면 해상도, 브라우저 뷰포트 환경)에 따라 사이트 또는 앱을 수정하려는 경우에 유용하다. 대표적으로 사용 가능한 미디어 기능으로는 'width', 'height', 'color'가 있다. 미디어 쿼리를 사용하면 콘텐츠 자체를 변경하지 않고도 특정 범위의 출력 장치에 맞게 프레젠테이션을 조정할 수 있다.
@media (prefers-color-scheme: light) {
  background-color: white;
  color: black;
}

@media (prefers-color-scheme: dard) {
  background-color: black;
  color: whhite;
}
따라서 위의 prefers-color-scheme이라는 특성을 활용해 사용자가 OS에서 설정해놓은 테마를 감지해서 다크모드를 구현할 수 있다. (다크모드: dark, 라이트모드: light, 테마 설정 안함: no-preference)
Attribute 활용하기
하지만 이는 사용자가 미리 설정해 둔 OS의 테마를 감지하는 것이지 서비스 내부에서 다크모드, 라이트모드를 유저의 마음대로 설정하거나 변경할 수 없다. 때문에 CSS의 속성 선택자와 함께 사용해서 아래와 같은 순서로 다크모드를 구현하기로 했다.
1. 페이지 첫 방문시, 웹에서 선택한 모드가 있는지 확인한다.
2. 선택한 모드가 있다면 default 테마를 선택한 모드로 설정 한다.
3. 선택만 모드가 없다면 default 테마를 Light 모드로 설정 한다.
4. Attribute를 토글로 변경하면서 테마를 변경한다.
5. 변경된 테마를 Local Storage에 저장하고 추 후 재 방문시 해당 변수를 읽어 테마를 적용한다.1, 2, 3. 웹 방문시 저장된 모드 확인 후 default 테마 설정
window.matchMedia ()
Javascript에서 미디어쿼리를 확인하기 위해 사용되는 메서드다. 지정된 CSS 미디어 쿼리 문자열의 결과를 나타내는 MediaQueryList 객체를 반환한다. 위 메서드를 활용해서 LS에 저장된 테마가 없으면 기본 설정을 해둔 테마를 default 테마로 저장한다.
const initColorTheme = window.localStorage.getItem('color-theme'); //LS 먼저 확인하기

const initialState = {
  colorTheme: initColorTheme ? initColorTheme : window.matchMedia('(prefers-color-scheme: dark)').matches ? 'dark' : 'light',
}
4. 토글로 테마 변경 하기
우선 각 attribute에 따라 Global Style.jsx에 있는 root 요소에서 color들을 설정해주었다. 이제 모든 styled-component에서는 var(--backgroundColor), var(--textColor) 등과 같은 변수들을 사용해 색상을 적용시켜주었다.
:root[color-theme='light'] {
  --backgroundColor: #fff;
  --textColor: #333;
  --pointColor: #666396;
  --defaultColor: #e4e4ed;
  --highlightColor: #566D85;
  --visitColor: orange;
  --bucketColor: skyblue;
  --modalColor: #fff;
  --transparentColor: rgba(128, 128, 128, 0.3);
}

:root[color-theme='dark'] {
  --backgroundColor: #333;
  --textColor: #fff;
  --pointColor: #d9b58f;
  --defaultColor: #695e56;
  --highlightColor: #a8a19d;
  --visitColor: orange;
  --bucketColor: skyblue;
  --modalColor: #555;
  --transparentColor: rgba(0, 0, 0, 0.5);
}
document.documentElement.setAttribute()
document.documentElement.setAttribute('attribute 이름', 'attribute 값');attribute는 위 메소드로 자바스크립트에서 동적으로 변경할 수 있다. 그래서 토글 버튼을 하나 만들고 onclick 이벤트가 발생했을 때 setAttribute로 attribute의 속성을 변경하고, Local Storage에 변경된 속성을 바로 저장하도록 구현했다.
const Toggle = () => {
  const changeTheme = (e) => {
    e.target.value = !e.target.value;
    const theme = e.target.valuee ? 'light' : 'dark';
    document.documentElement.setAttribute("color-theme", theme);
    window.localStorage.setItem("color-theme", theme);
  }

  return <ToggleWrapper
    onClick = {e => changeTheme(e)}
    <Handle/>
  </ToggleWrapper>
}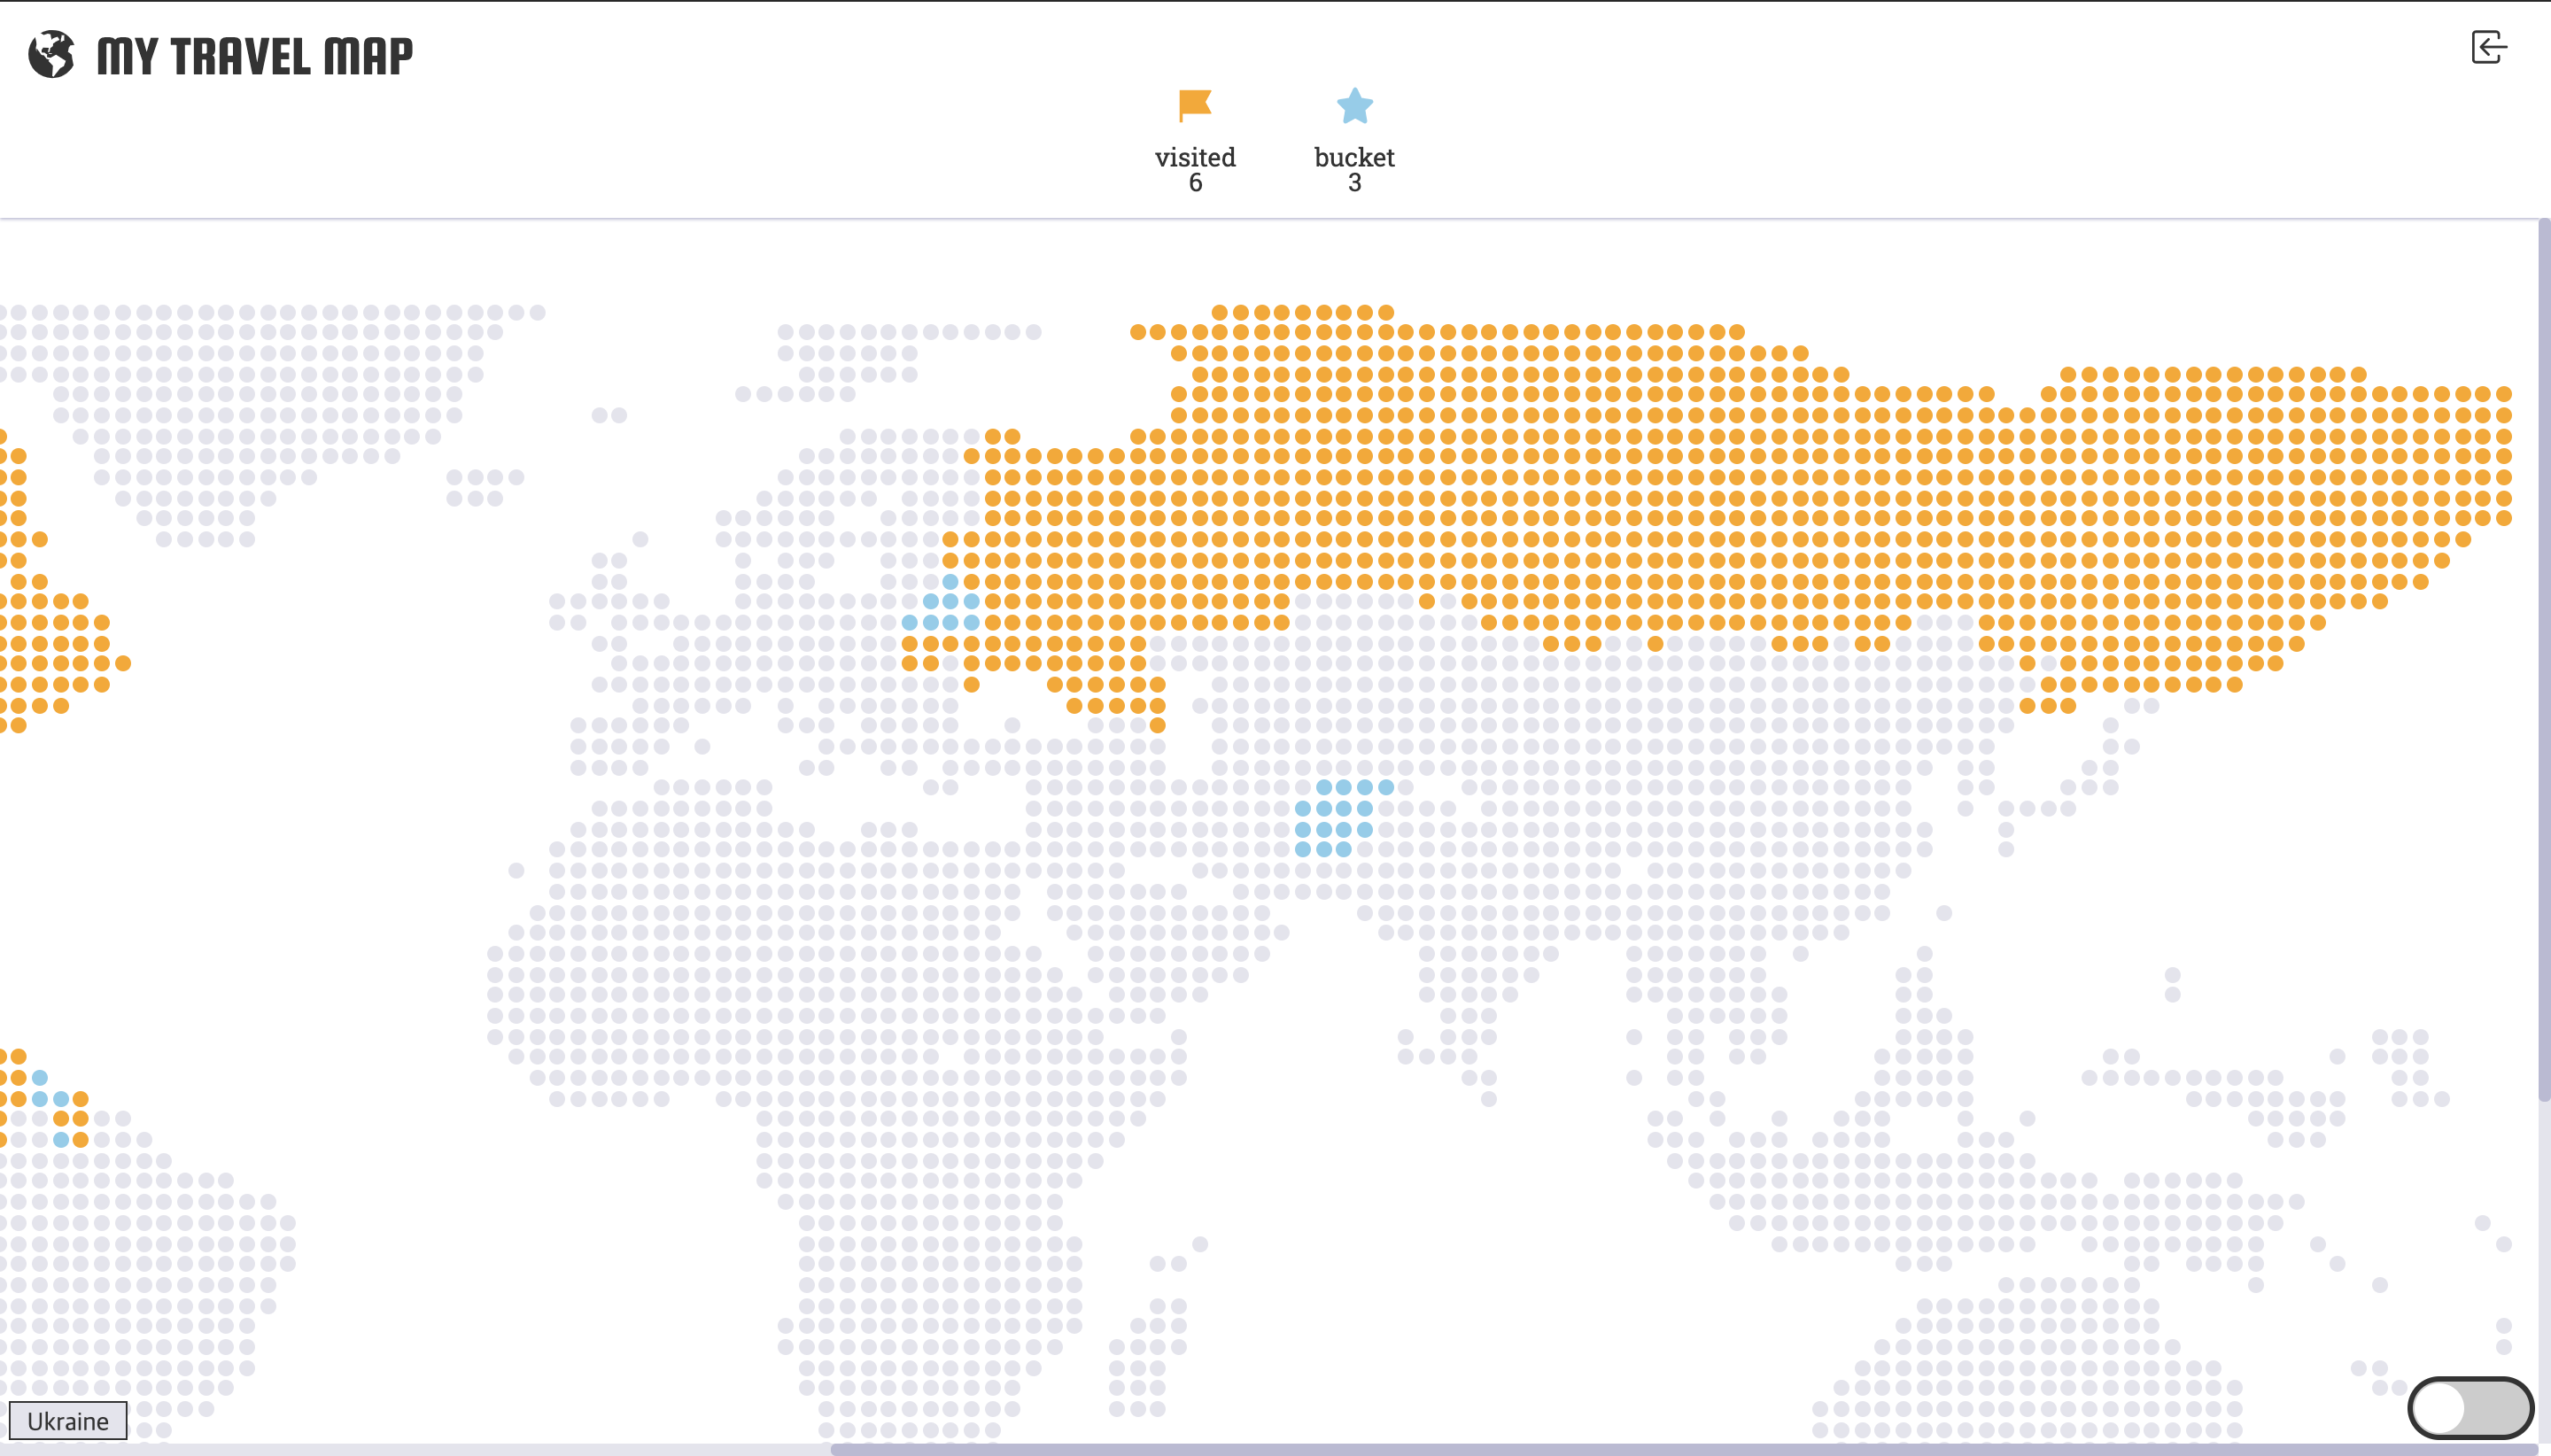
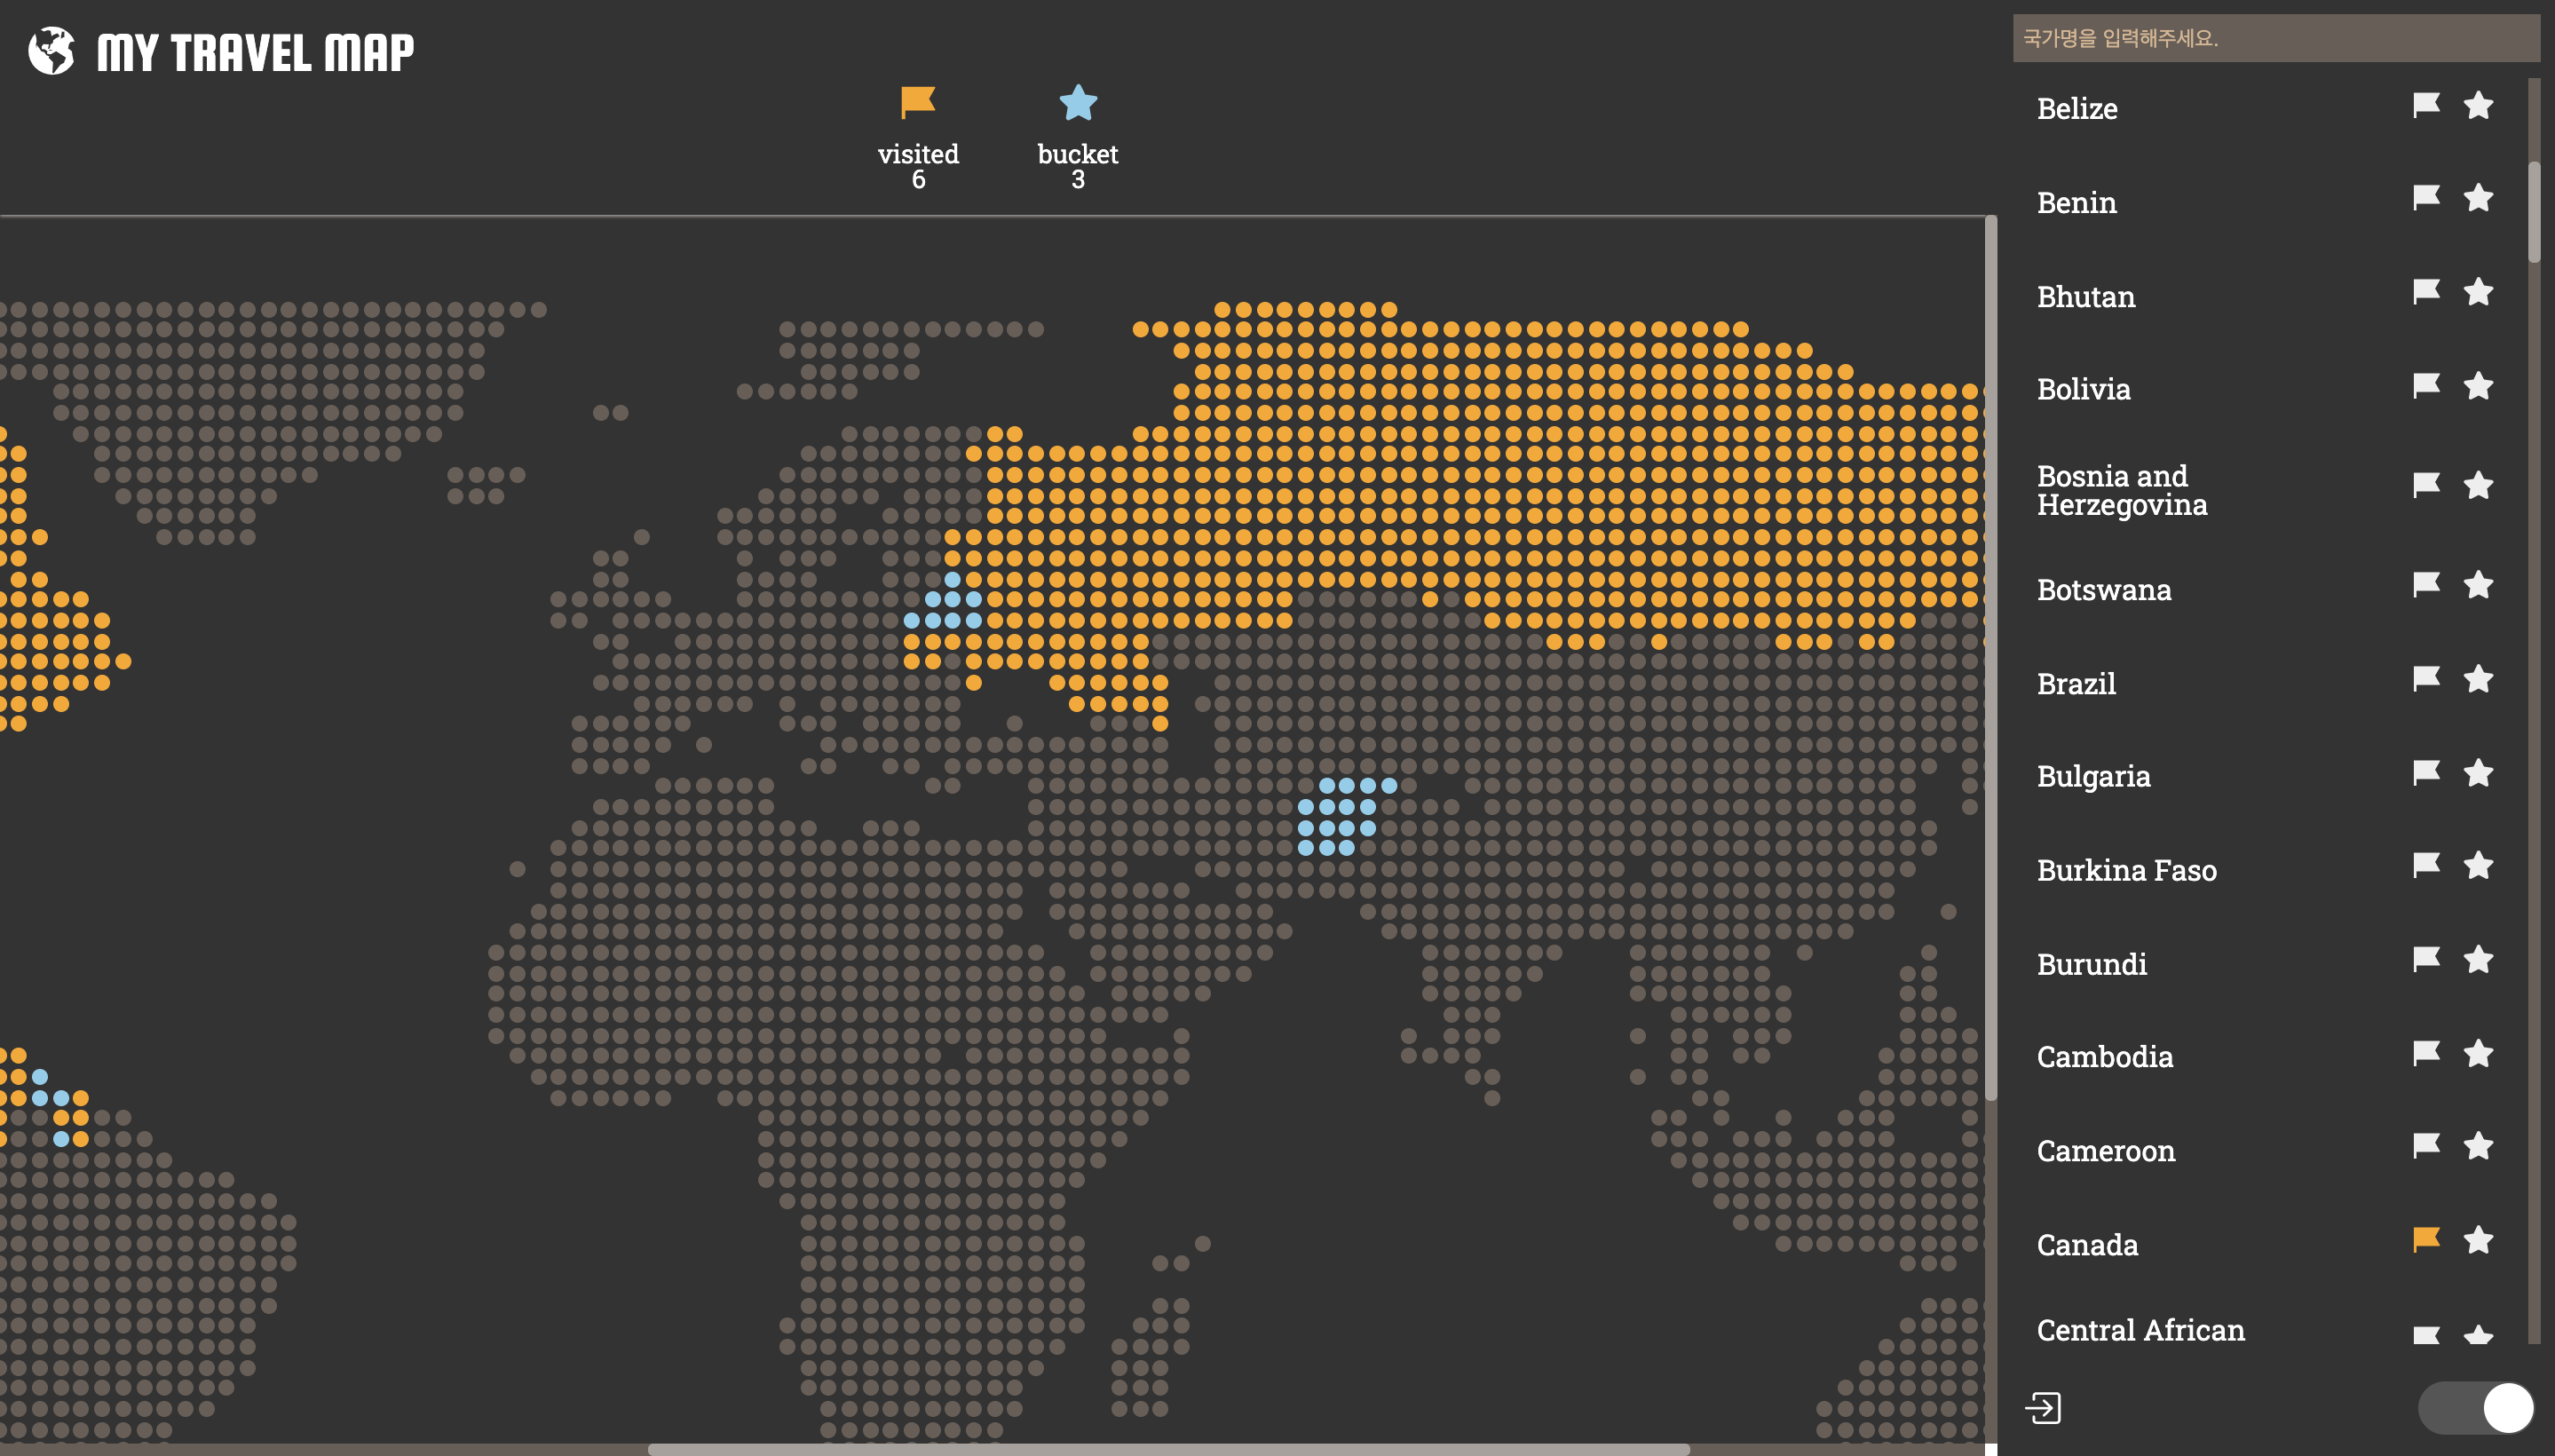
그렇게 완성된 테마 변경 구현 완료! 추가로 지우님의 일부 디자인까지 더해져, 얼추 봐줄만한 웹 앱이 만들어졌다! 앞으로 조금 더 개선사항이 필요한 곳들을 찾아서 조금씩 수정 해봐야겠다 :)
'Projects > 세계 여행 지도' 카테고리의 다른 글
04. 렌더링 최적화(2) Recalculation-style 시간 줄이기 (2) 2021.06.04 03. 렌더링 최적화(1) Memoization을 통한 리렌더링 최소화 (0) 2021.06.03 02. 컴포넌트화를 통한 호버링 하이라이트 (feat. Styled Component) (0) 2021.06.03 01. Grid로 세계 지도 나타내기 (0) 2021.06.03

제가 가진 기술로 세상에 좋은 변화를 주고 싶은
주니어 개발자 Hov입니다.
협업의 가치를 소중하게 생각하고,
함께 일하고 싶은 동료 되기 위해 노력중입니다.
- Today
- -
- Yesterday
- -
- Total
- -